Workflow Groups
Workflow Groups in StackGuardian allow you to organize workflows by teams, divisions, or environments. They provide structured management and fine-grained access control over workflows.
Creating a Workflow Group
Workflow Groups ensure streamlined organization and efficient management of your workflows. Follow these steps to create a Workflow Group:
- Navigate to Orchestrator > Workflow Groups and click Create Workflow Group.
- Fill in the required details:
- Workflow Group Name: Provide a unique name.
- Workflow Group ID: Auto-generated from the Workflow Group Name. You can customize it using only letters, numbers, underscores (_), or dashes (-). This cannot be changed after creation.
- Description: Add a brief description of the group.
- Tags: Use tags to categorize and organize the group.
- Workflow Group Name: Provide a unique name.
- Click Create to create the group.
Creating a Workflow Group
Move resources
You can reorganize workflows, stacks, and workflow groups by moving them between workflow groups. This helps you maintain a clear structure as your infrastructure grows or your team organization changes.
- Navigate to Orchestrator > Workflow groups
- Select the workflow group you want to manage
- Select one or more resources from the table using the checkboxes. You can select:
- Workflow groups (moves the group and everything inside it)
- Stacks (moves the stack and all its workflows automatically)
- Individual workflows (only workflows not part of a stack)
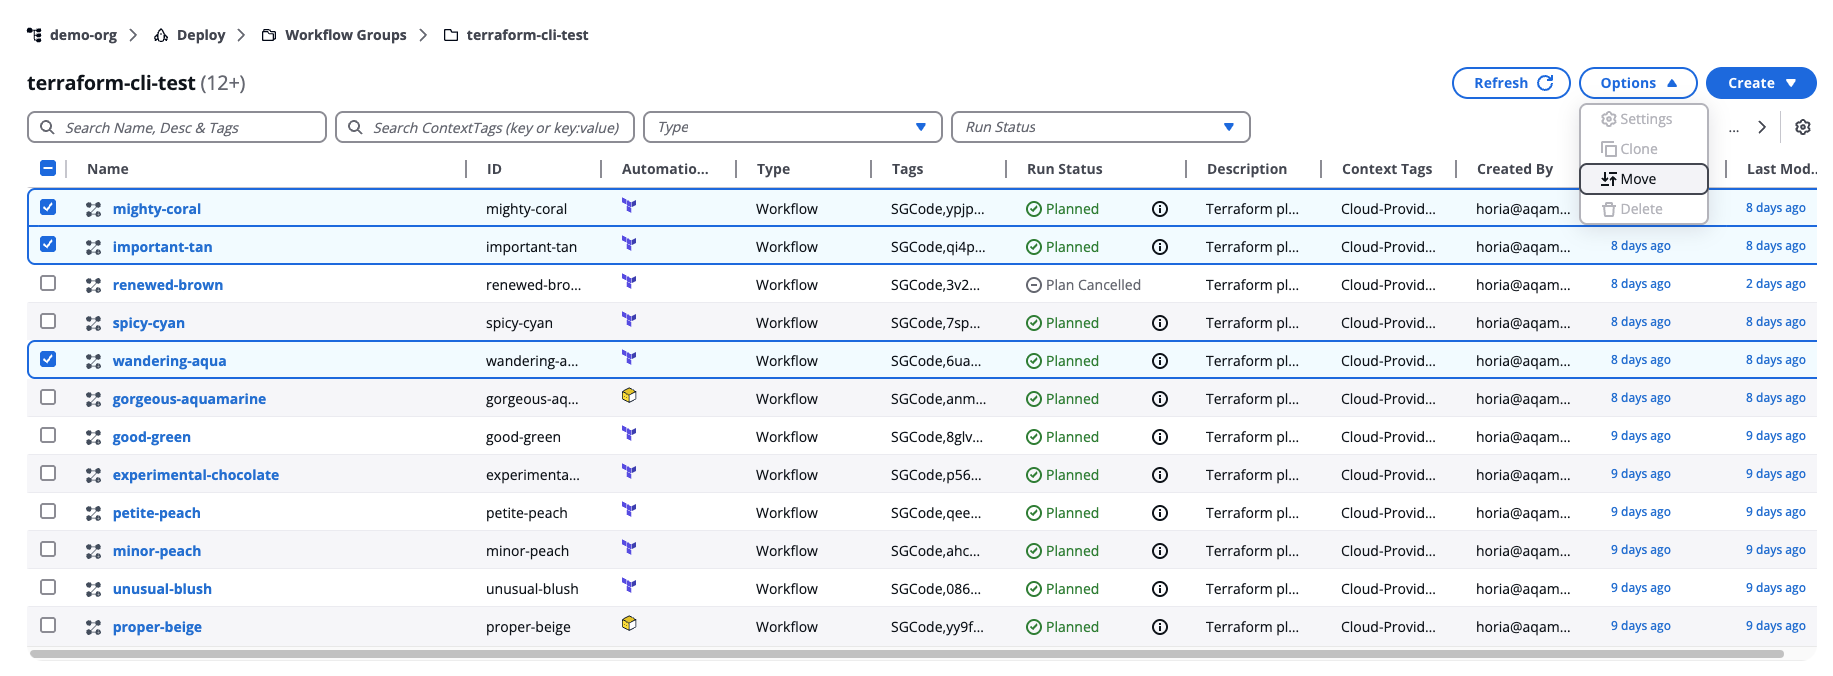
- With resources selected, open the Options dropdown in the top right
- Select Move
Move resources
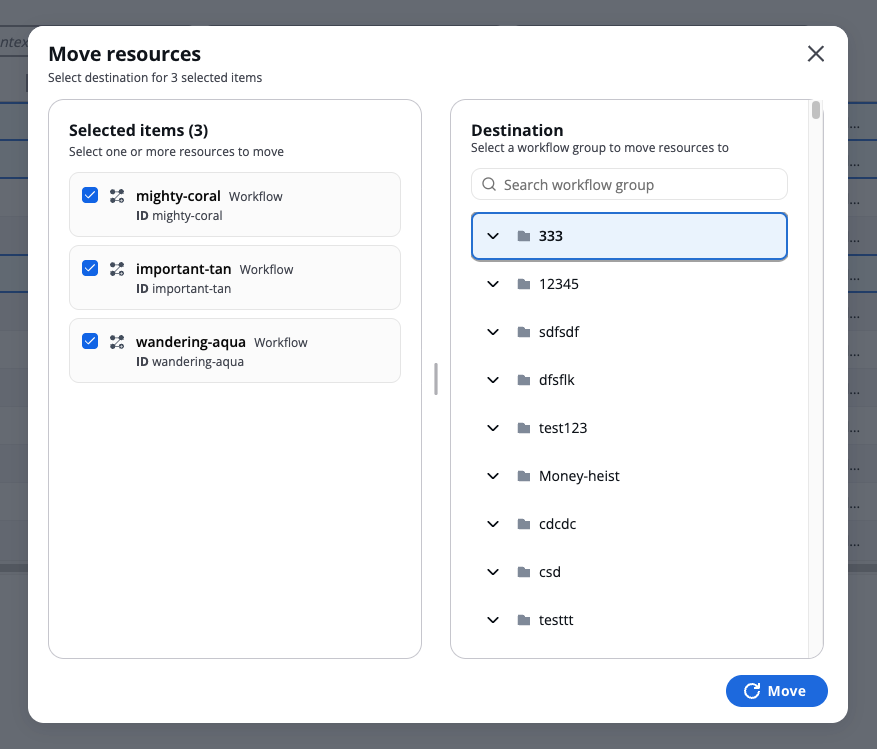
The Move resources modal opens with two panels:
-
Selected resources — Shows your selection with each resource's name, type (Workflow, Stack, or Workflow Group), and ID. Review this list to confirm you're moving the correct resources.
-
Destination — Shows all available workflow groups as a tree. The number next to each group shows how many resources it contains. Expand a group to see nested groups.
Select a destination workflow group from the Destination tree, then select Move.
Moving resources modal
After the move completes, a summary appears showing:
- How many resources were moved
- The destination workflow group
- A list of each moved resource with its type and original location
- A single move operation can handle up to 100 resources. If you need to move more, perform multiple move operations.
- Workflows that belong to a stack cannot be moved independently. Moving a stack automatically moves all its workflows. If you try to move only a workflow that belongs to a stack, the move will fail.
- Moving resources does not automatically update references between workflows, stacks, or policies. References continue to function, but affected resources display an Update badge prompting you to review and update them manually.