Quick start: GitOps for IaC
Deploy your first workflow in minutes by connecting Git and a cloud provider.
Overview
This guide walks you through the GitOps for IaC onboarding path in StackGuardian. By the end, you'll have connected your Git repositories and a cloud provider, and you'll be ready to deploy your first workflow.
Prerequisites:
- A GitHub or GitLab account with at least one IaC repository
- A cloud provider account (AWS or Azure) with the necessary credentials
Step 1: Choose your onboarding path
When you first sign in, StackGuardian asks what you'd like to do first. Select GitOps for IaC to connect your Git repositories and deploy infrastructure using version-controlled code.
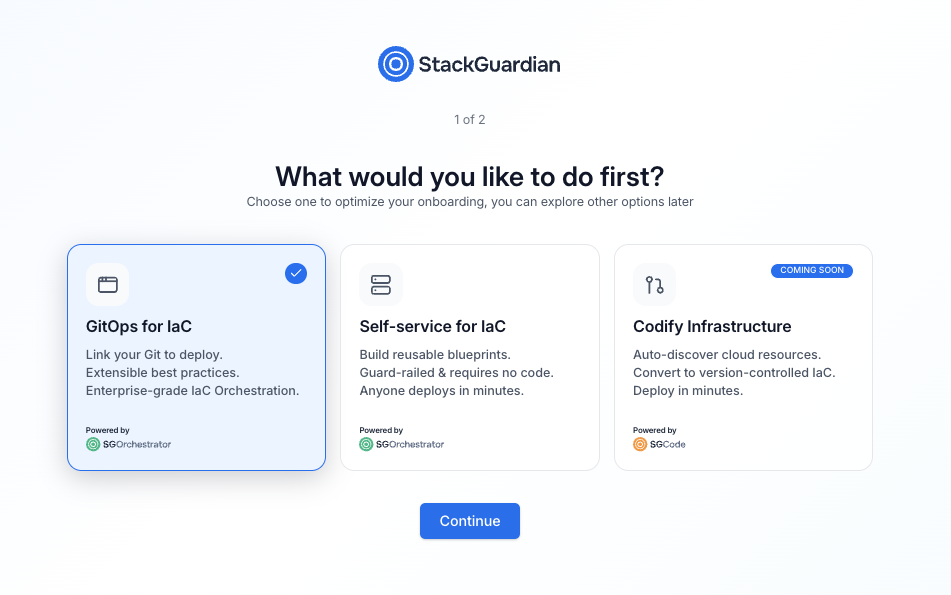
Onboarding path selection screen
The three available paths are:
- GitOps for IaC — Link your Git repositories to deploy infrastructure using version-controlled code
- Self-service for IaC — Build reusable blueprints that teams can deploy without writing code
- Codify infrastructure — Auto-discover and convert existing cloud resources to IaC (coming soon)
Select GitOps for IaC, then select Continue.
You can switch to a different path at any time from the SGOrchestrator overview page.
Step 2: Set up your organization
Enter a name for your organization. This is the workspace where your workflows, stacks, and connectors will live.
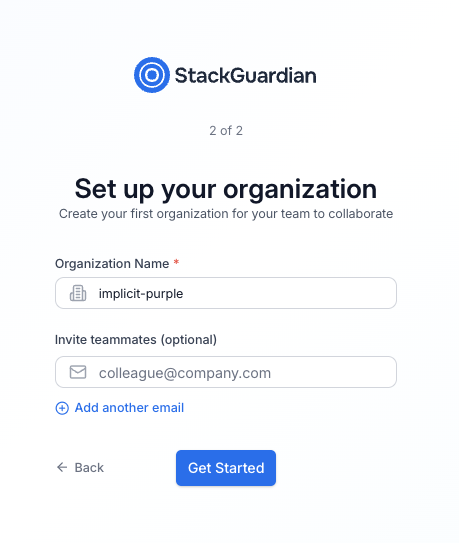
Organization setup screen
| Field | Required | Description |
|---|---|---|
| Organization name | Yes | A unique identifier for your organization. Use lowercase letters and hyphens. |
| Invite teammates | No | Enter one or more email addresses to invite collaborators. You can also do this later. |
Select Get started when you're ready.
Step 3: Connect your Git repository
After setup, you'll land on the SGOrchestrator overview page. The Getting Started with Orchestrator panel in the bottom-right corner guides you through three steps: connecting Git, connecting a cloud provider, and deploying.
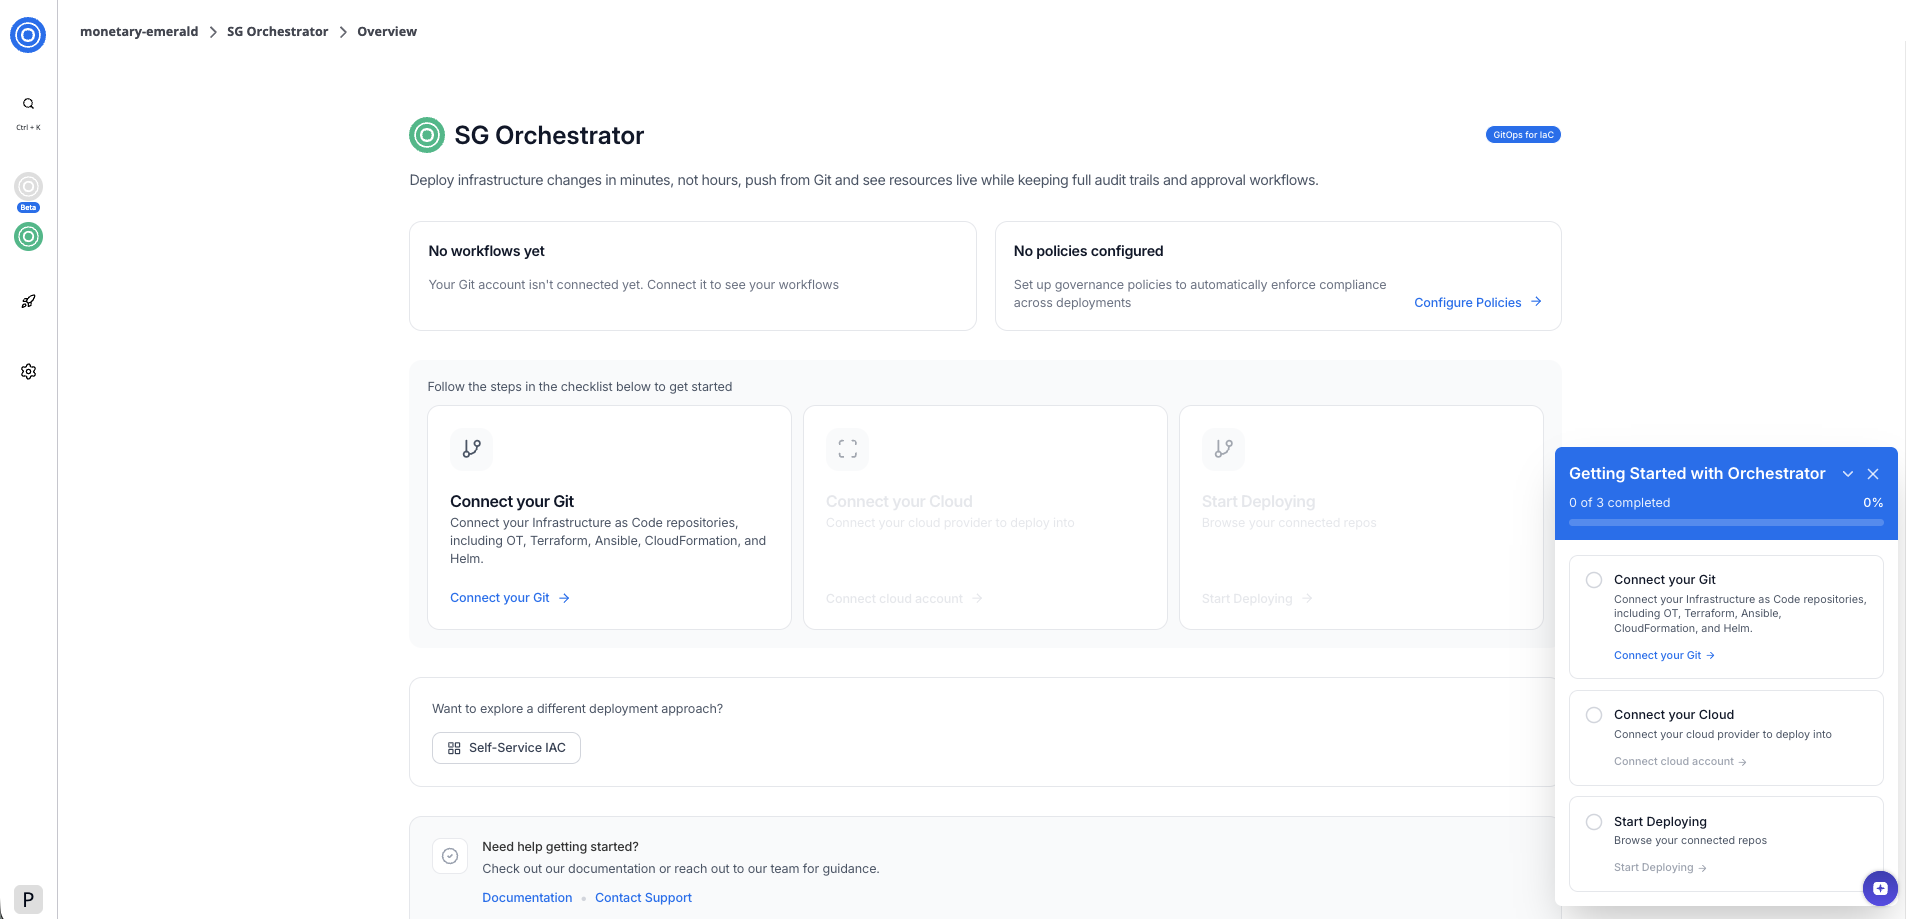
SGOrchestrator overview page
To connect your Git repository:
-
Select Connect your Git in the checklist or the overview card.
-
In the dialog, select your Git provider — GitHub or GitLab.
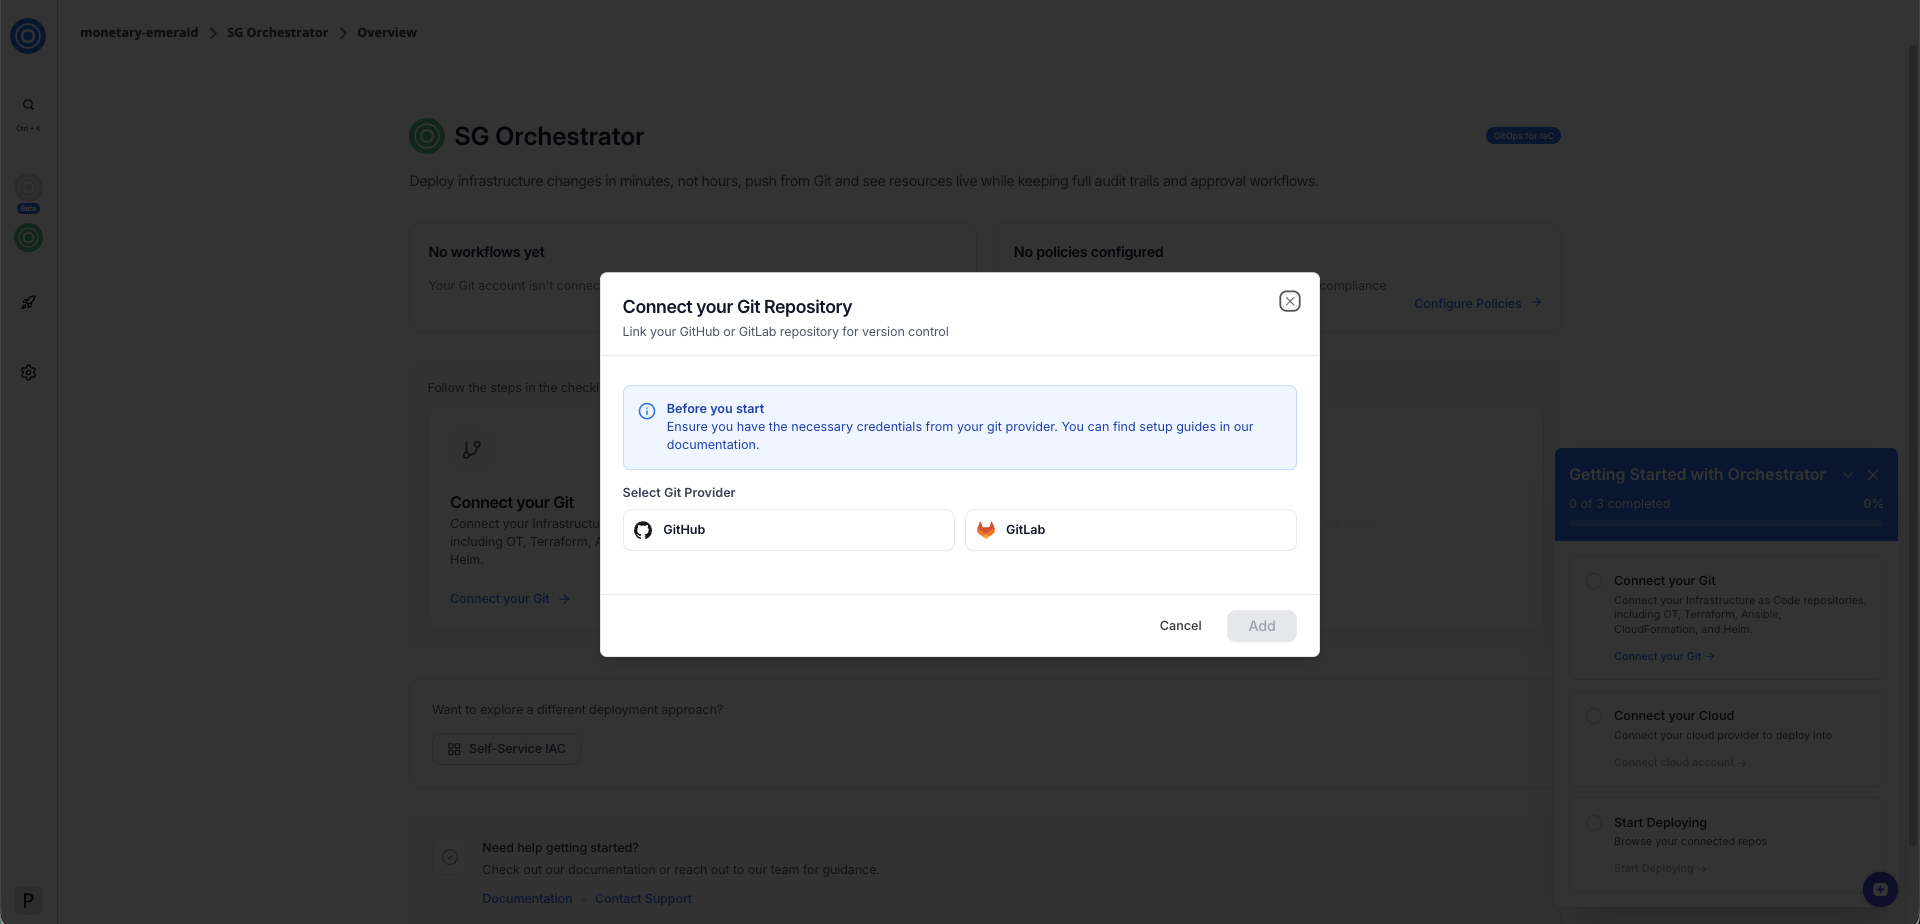
Connect your Git repository dialog
-
Follow the authorization flow. StackGuardian redirects you to your Git provider to grant access.
-
Select the account or organization where you want to install the StackGuardian app.
Once authorized, you'll return to the overview page. The Connect your Git card shows a confirmation that one version control system is connected.
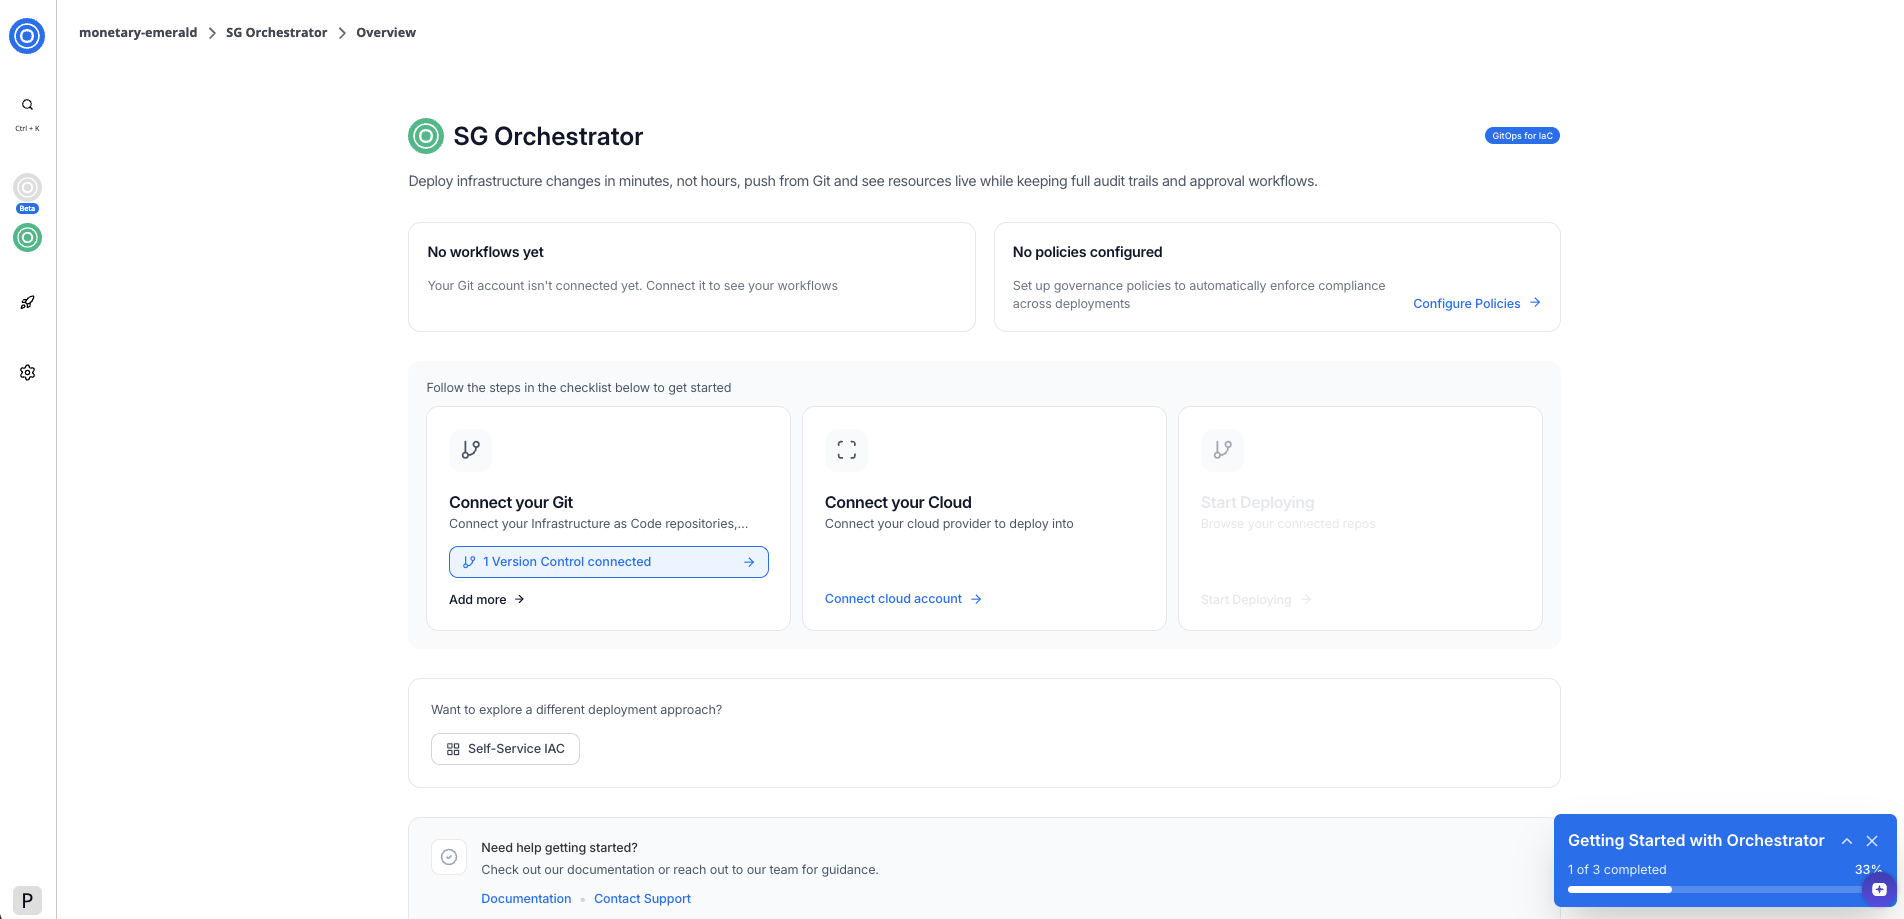
SGOrchestrator overview page
Step 4: Connect your cloud provider
With your Git repository connected, the next step is to link a cloud provider. This allows StackGuardian to deploy your infrastructure into your cloud account.
To connect your cloud provider:
-
Select Connect cloud account in the overview card.
-
Select an authentication method — RBAC (role-based access control) or OIDC (OpenID Connect).
-
Enter a connector name. Optionally, add a description and tags.
-
Enter your AWS Role ARN in the format
arn:aws:iam::<account-id>:role/<role-name>. -
Copy the pre-filled External ID for the role — you'll need this when setting up the trust relationship in AWS.
-
Select Add Connector.
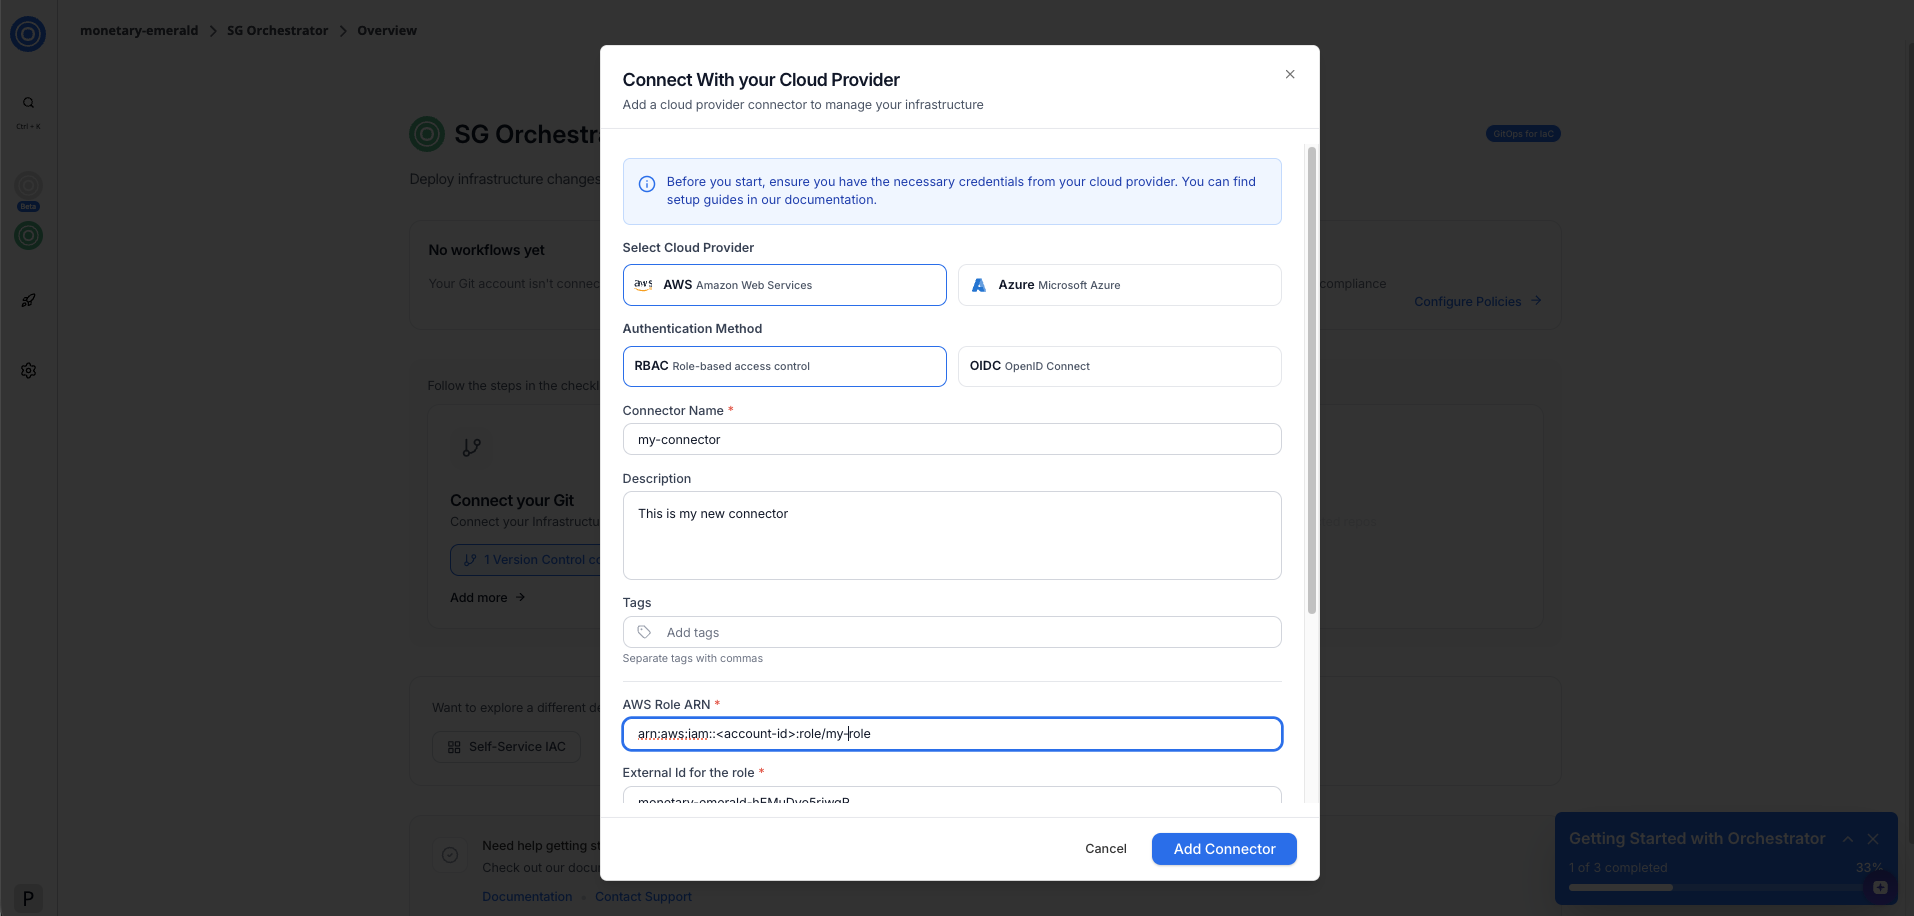
Connect with your cloud provider dialog showing
AWS Role ARN
To authenticate with AWS, StackGuardian uses an IAM role with a cross-account trust relationship. You'll need to:
- Create an IAM role in your AWS account.
- Add StackGuardian as a trusted entity using the external ID shown in the form.
- Attach the permissions your workflows need (for example,
AdministratorAccessfor full access). - Copy the role ARN from AWS and paste it into the AWS Role ARN field.
Once connected, the Connect your Cloud card shows a confirmation and a Manage integrations button.
Step 5: Start deploying
With both Git and your cloud provider connected, the checklist shows 2 of 3 complete. The Start Deploying step is now active.

SGOrchestrator overview page
Select Start Deploying to browse your connected repositories and create your first workflow.
Next steps
Now that your environment is set up, you can:
- Create a workflow from one of your connected repositories
- Explore Self-service for IaC to build reusable deployment blueprints