Create Stacks
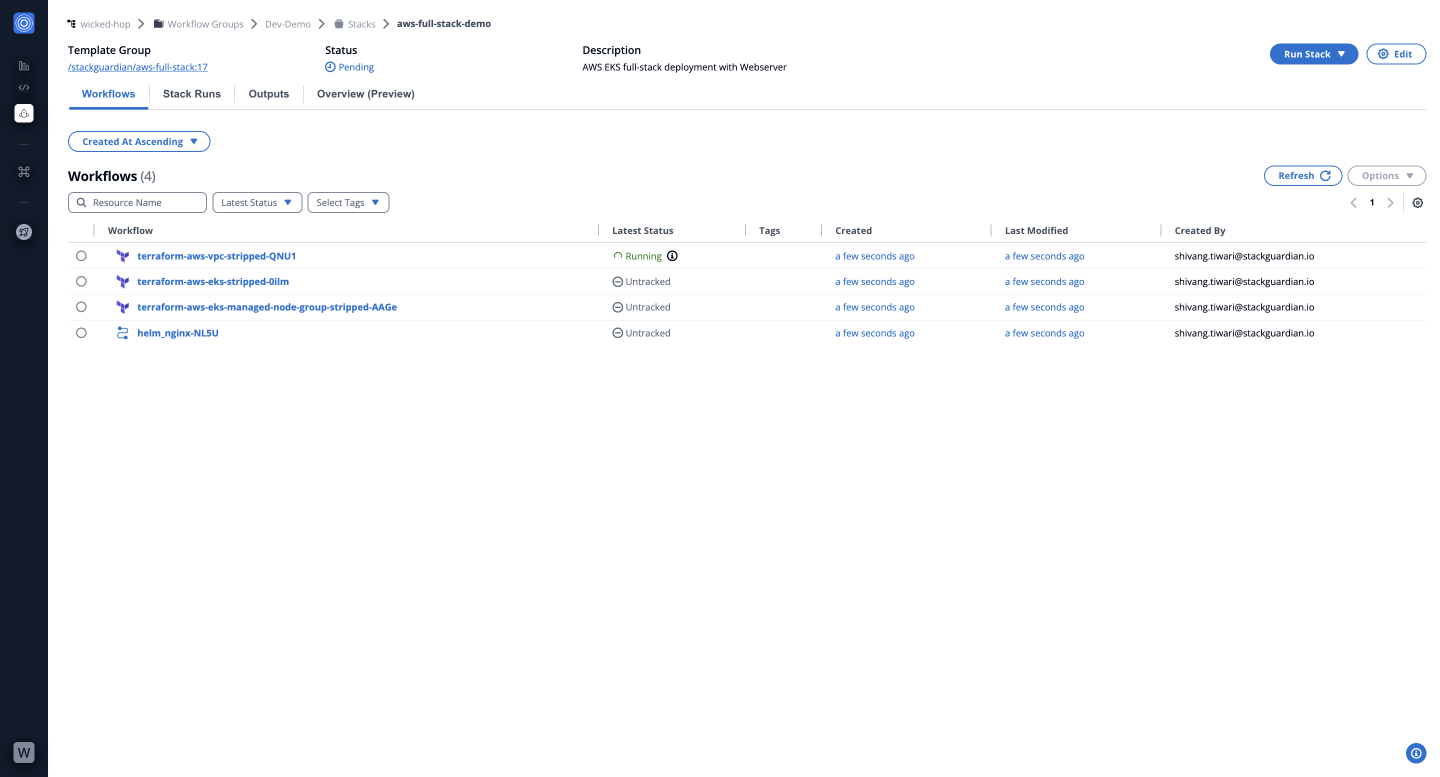
Stacks in StackGuardian enable the automation and sequencing of related workflows, with each workflow seamlessly passing its outputs as inputs to the next. The aws-full-stack example template streamlines the provisioning of an AWS Elastic Kubernetes Service (EKS) environment by orchestrating workflows to create a Virtual Private Cloud (VPC), deploy an EKS cluster, configure managed node groups, and set up an Nginx service using Helm.
Steps to Create Stack
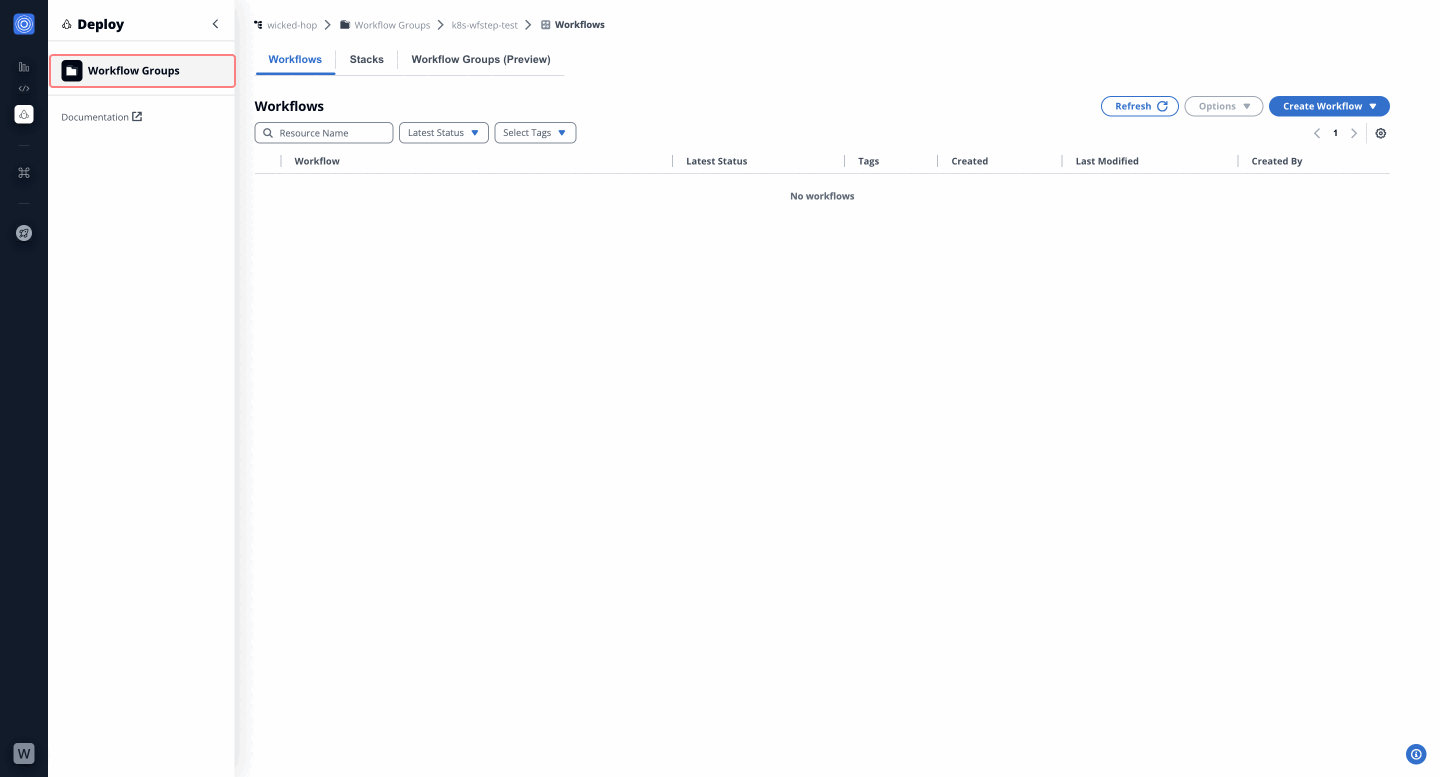
Step 1: Navigate to the Workflow Groups
- Go to Orchestrator > Workflow Groups in the sidebar.
- Click the "Stacks" tab, then "Create Stack" > "Use Dev Portal (Preview)" to begin.
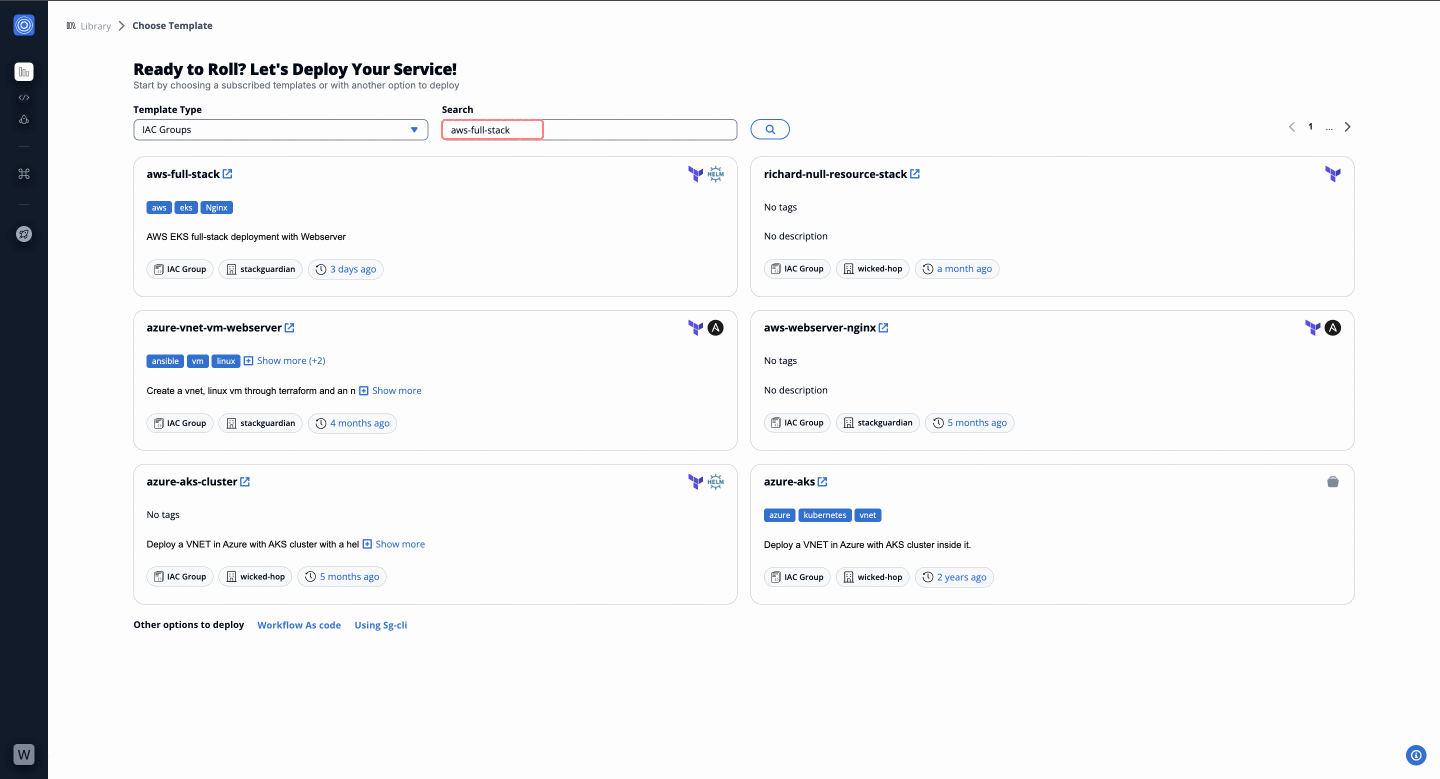
Step 2: Search and Select the Template
- In the Dev Portal preview, choose Template and search for
aws-full-stackin the Search bar. - Click "Use" to select the
aws-full-stacktemplate.
Step 3: Configure Stack Meta Details
- Fill in the following fields:
- Workflow Group Name: Select a workflow group from the dropdown.
- Stack Name*: Provide a unique name for your stack.
- Description: Add a brief description (e.g., AWS EKS full-stack deployment).
- Add Tags: Enter tags to categorize the stack.
- (Optional) Enable Advanced Configuration to specify:
- Runtime Environment: Set execution details and allocate resources.
- Resources and Events: Configure deployment triggers.
- Click "Next: Variables".

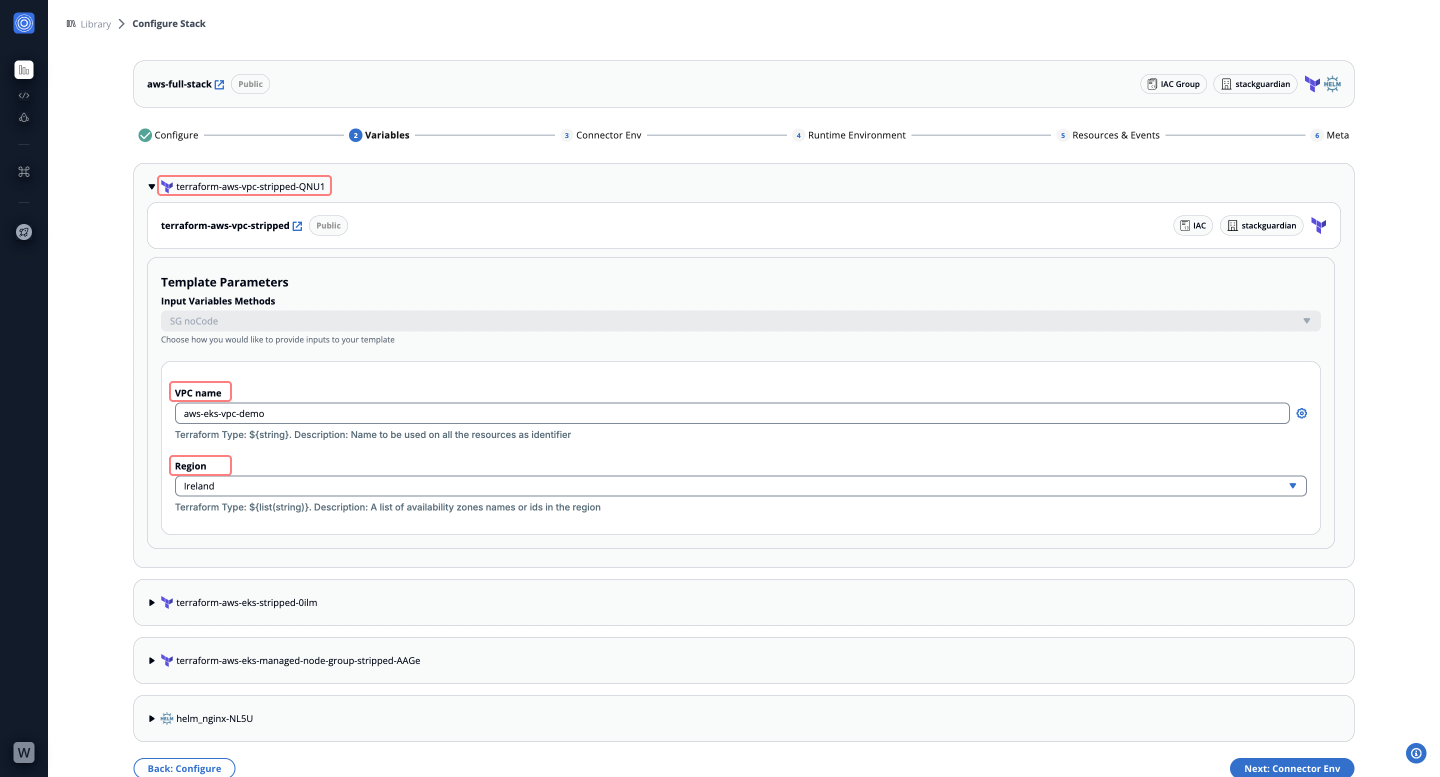
Step 4: Configure Workflows
The aws-full-stack template includes the following workflows:
- terraform-aws-vpc-stripped: Provisions a Virtual Private Cloud (VPC) with subnets, route tables, and internet gateways.
- Fields to Fill:
- VPC Name: Enter a name for the VPC (e.g.,
aws-eks-vpc-demo). - Region: Select an AWS region based on your deployment:
- For EU:
Ireland(eu-west-1) orFrankfurt(eu-central-1) - For US:
Ohio(us-east-2) orOregon(us-west-2)
- For EU:
- VPC Name: Enter a name for the VPC (e.g.,
- Fields to Fill:
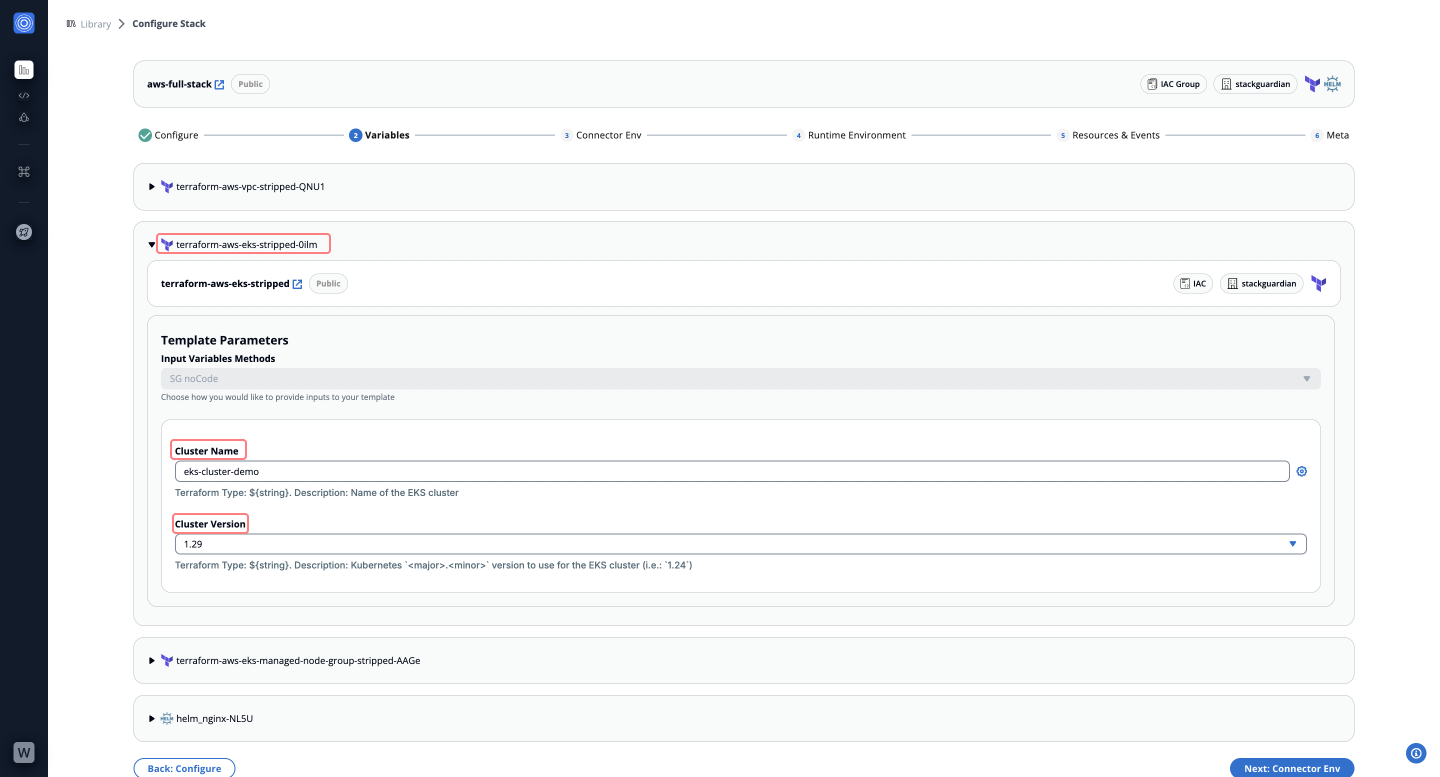
- terraform-aws-eks-stripped: Deploys an Elastic Kubernetes Service (EKS) cluster in AWS.
- Fields to Fill:
- Cluster Name: Provide a name for the EKS cluster (e.g.,
eks-cluster-demo). - Cluster Version: Select the Kubernetes version (e.g.,
1.29).
- Cluster Name: Provide a name for the EKS cluster (e.g.,
- Fields to Fill:
-
terraform-aws-eks-managed-node-group-stripped: Configures managed node groups for worker nodes in the EKS cluster. Use default values for all fields.
-
helm_nginx: Deploys an Nginx service using Helm on the EKS cluster. Use default values for all fields.
Click "Next: Connector Env" after completing these configurations.
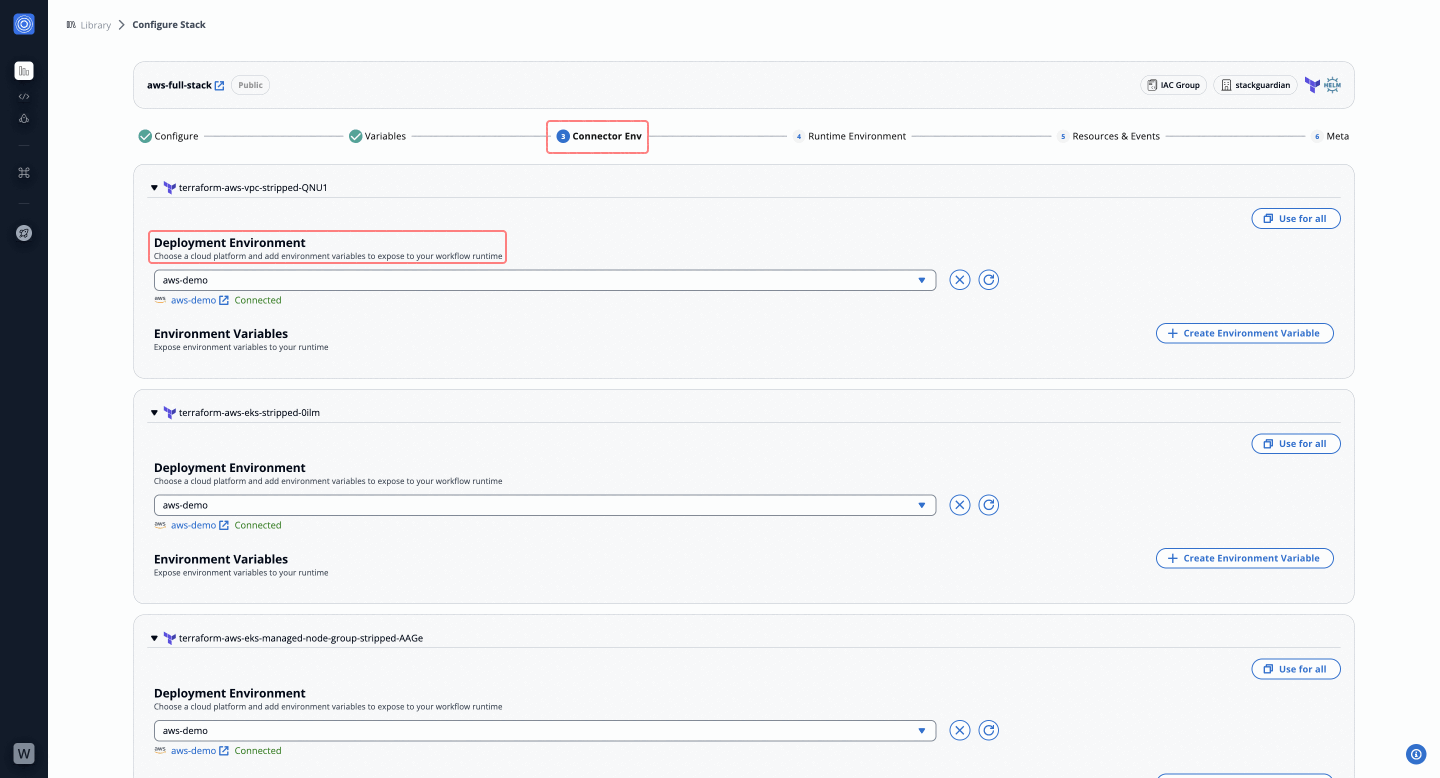
Step 5: Connect Your Deployment Environment
- Select a pre-configured connector (e.g.,
aws-demo) or create a new one. - Optionally, assign individual connectors to each workflow in the stack. Click "Next: Runtime Environment".
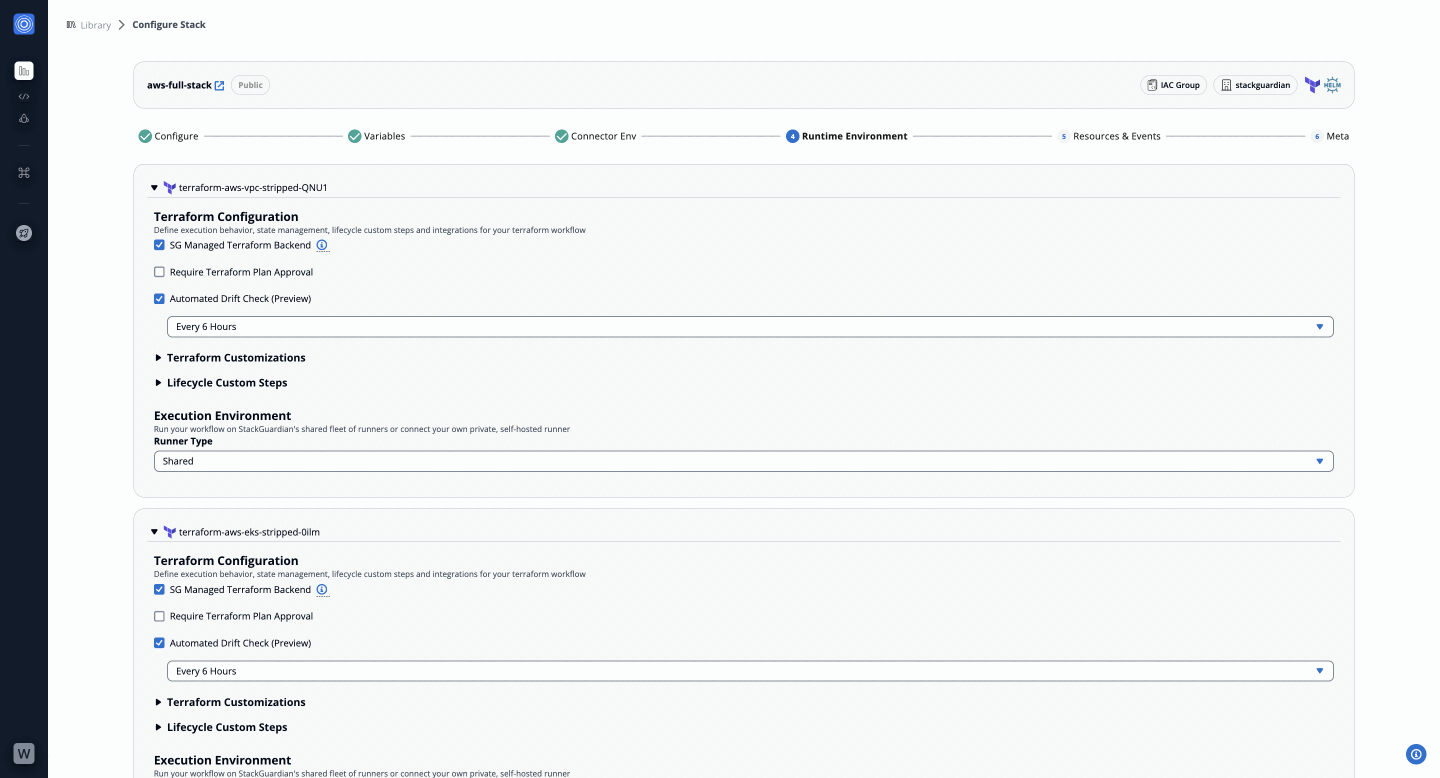
Step 6: Define the Runtime Environment
- Configure execution behaviors, state management, lifecycle steps, and private runner integrations.
- Use pre-configured connectors or define new runtime variables as needed. Click "Next: Resources & Events".
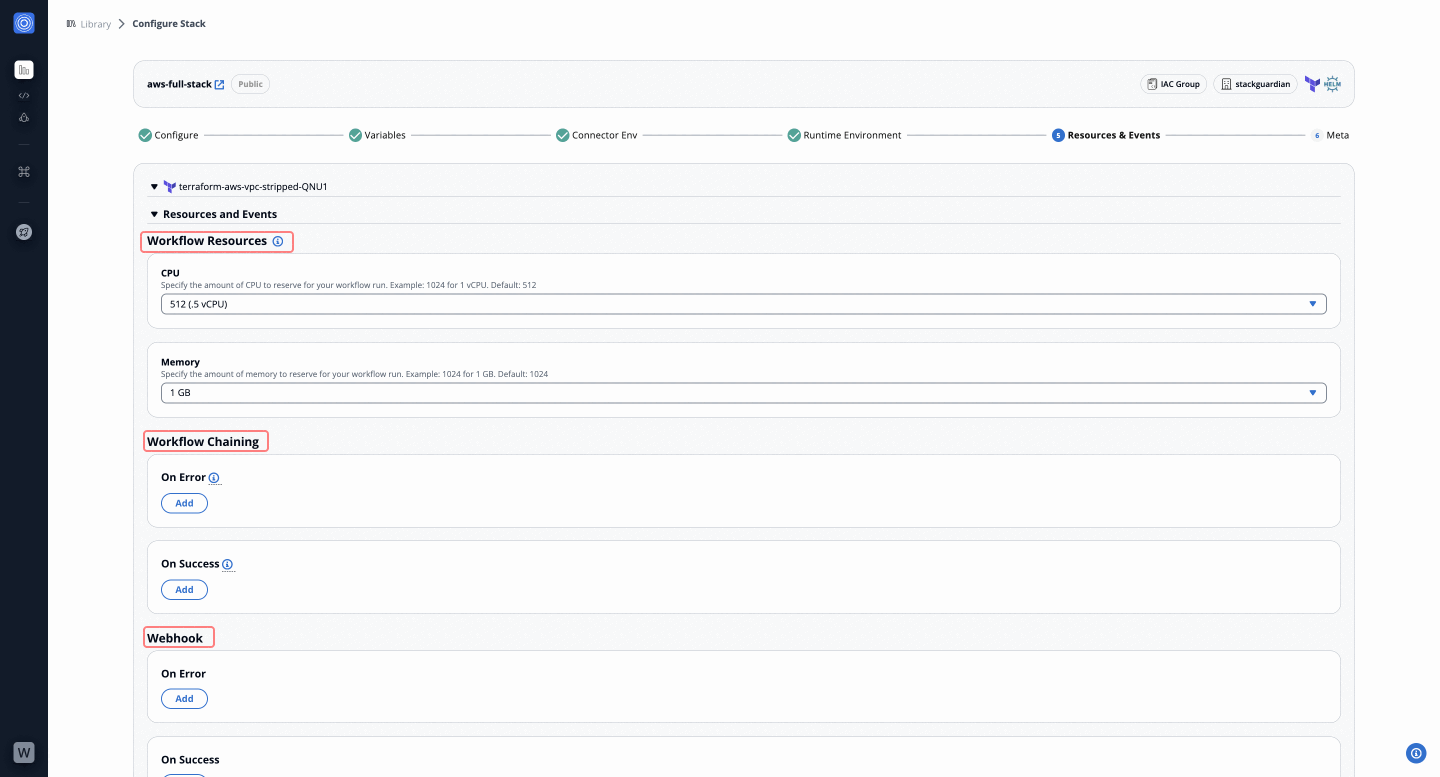
Step 7: Configure Resources & Events
- Add resources, execution schedules, and workflow chaining.
For guidance on generating a Cron expression for your execution schedule, refer to this documentation:
Creating Cron Expressions for Scheduled Events
- Set webhook integrations for automated triggers. Click "Next: Meta".
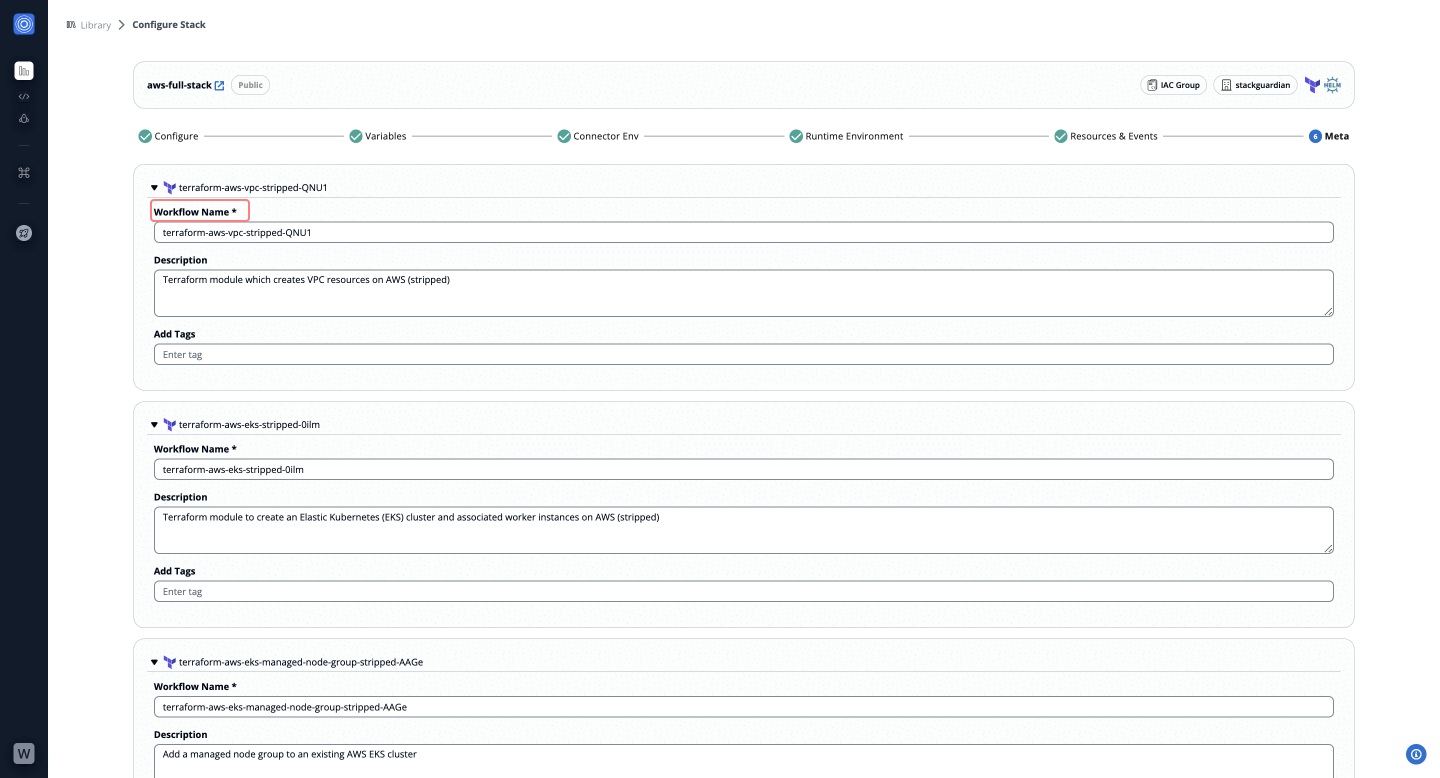
Step 8: Finalize Workflow Meta Details
- Fill in the following fields:
- Workflow Name: Provide a unique name for the workflow.
- Description: Add a brief description (e.g., AWS EKS full-stack deployment).
- Add Tags: Categorize the workflow with tags.
- Click "Launch" to create and execute the stack.
Steps to Deploy Stack
You have successfully created and deployed a stack using the aws-full-stack template. To learn how to update an existing stack, check out our guide on Updating Stacks.